
When most people walk into a beautifully finished room, they notice the paint color, the furniture, or the lighting. What they rarely notice is the wall finish itself — and that invisibility is exactly the point. Achieving seamless wall finishes is a craft that demands skill, patience, and the right techniques. Alba Construction brings that craft to every project, ensuring walls look flawless from the first coat to the final inspection.
Why Wall Finishing Is More Complex Than It Looks
A smooth wall does not happen by accident. Multiple carefully executed steps produce it, each one building on the last. Skipping or rushing any stage creates visible imperfections — bumps, ridges, cracks, or uneven texture — that become even more obvious once paint goes on.
The process begins with proper surface preparation. Drywall seams, fastener holes, and any damaged areas all need attention before finishing starts. If the substrate lacks proper preparation, no amount of skill in later stages will fully hide the flaws underneath.
The Role of Drywall Taping and Mudding
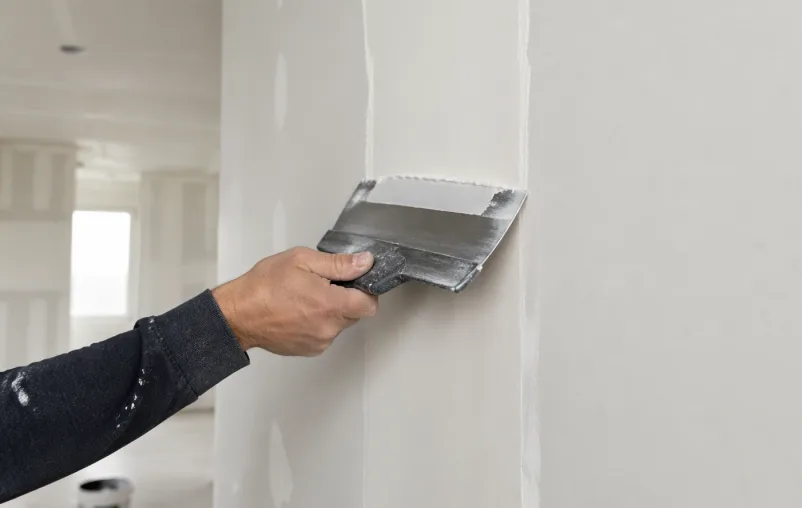
One of the most critical steps in achieving seamless wall finishes is the taping and mudding phase. This is where joints between drywall sheets get covered and blended into the surrounding surface. A skilled finisher makes it impossible to tell where one panel ends and another begins. Poor execution turns every seam into a visible line or ridge.
Drywall taping and mudding involves applying joint compound in multiple thin coats, with full drying time between each application. Feathering the edges is essential — gradually thinning the compound outward so the transition becomes gradual and invisible. Many homeowners who attempt this themselves end up with a wavy or ridged surface because they apply too much compound at once or skip proper feathering.
Sanding between coats removes ridges, tool marks, and high spots. This step is dusty and time-consuming, but skipping it guarantees a surface that shows flaws under paint.
Choosing the Right Finish Level
Not every wall needs the same level of finish. The construction industry uses a standardized system ranging from Level 0 (no finishing at all) to Level 5 (the smoothest possible surface). Understanding which level suits each space makes a significant difference in both cost and outcome.
For walls receiving heavy texture, Level 3 is the appropriate choice. Most painted surfaces in residential and commercial spaces call for Level 4. Level 5 is the right choice for areas with critical lighting — spaces where light strikes the wall at a shallow angle and makes every imperfection visible.
Selecting the wrong finish level wastes time and materials. Worse, it produces a surface that looks poor once painted. A skilled finisher evaluates the space, the lighting conditions, and the intended final appearance before deciding on the approach.
Repairs and Restoration: Matching Existing Finishes
New construction is straightforward compared to repair work. When a section of wall suffers damage and needs patching, the challenge goes beyond filling the hole. The new work must blend seamlessly with the existing finish so the repair becomes invisible.
Reading the existing texture is the first task. Understanding how workers originally applied it comes next, followed by closely matching it. Whether the original finish is smooth, orange peel, knockdown, or skip trowel, a skilled tradesperson replicates it accurately. Our restoration services address exactly these situations, bringing damaged surfaces back to a condition that matches or exceeds the original.
The Connection Between Wall Finishes and the Exterior
Seamless wall finishes are not limited to interiors. The exterior of a building tells its own story. Damaged or poorly finished siding creates the same kind of visual inconsistency outside that bad drywall work creates indoors.
Our siding repair services in Calgary follow the same principle: careful preparation, skilled application, and close attention to how the repaired section blends with the surrounding material. The goal never changes — a finish so well executed that no one can tell work was done.
Water intrusion ranks among the leading causes of interior wall damage. Addressing the source of moisture is just as important as repairing the visible damage it leaves behind. Our roof repair services in Calgary keep the structure protected so interior finishes stay intact long after the project wraps up.
What Sets Professional Finishing Apart
The difference between a professional finish and a DIY result usually comes down to three things: preparation, patience, and product knowledge.
Professionals know which compounds work best for each stage and how long to wait between coats. Reading the surface under different lighting helps catch imperfections before the final coat goes on. A skilled finisher also knows how to sand without cutting through the paper face of the drywall, which creates a fuzzy surface that absorbs paint unevenly.
Speed is never the priority. Rushing a finish guarantees visible flaws. Every coat needs full drying time, and every surface deserves proper inspection before the work moves forward.
How Alba Construction Approaches Every Finish
Alba Construction treats wall finishing as a craft, not just a task. Whether finishing new drywall, patching a damaged section, or matching an existing texture on a restoration project, the standard stays the same. Our team evaluates the surface, plans the approach, and executes each step with care.
Clients across Calgary rely on Alba Construction because the result looks right — not just on the day of completion, but years down the line. Seamless wall finishes should last. A properly finished wall holds up to repainting, minor impacts, and the normal settling of a building without cracking or separating.
If you want walls that look truly finished — not just painted over — the process behind them matters. Contact us to learn how our team can bring that standard to your next project.
Frequently Asked Questions
What is the focus of seamless wall finishes? Seamless wall finishes eliminate visible seams, joints, and imperfections so the surface looks like one continuous, smooth plane. Achieving this result involves proper taping, mudding, sanding, and texturing techniques applied in the correct sequence.
How many coats of joint compound are needed? Most professional finishes require three coats — a tape coat, a filler coat, and a finish coat. Each coat goes on thin, dries fully, and gets sanded before the next application. Some Level 5 finishes require additional work or a full skim coat over the entire surface.
Can damaged drywall be patched invisibly? Yes, with the right skills and materials. A professional matches the texture and blending of a patch so closely that the repair disappears once painted. Proper feathering of the compound and accurate texture matching make this possible.
How long does a professional wall finish take? Timeline depends on the size of the area, the finish level required, and drying time between coats. A standard room can take several days from initial taping to final sanding. Rushing the process always compromises the result.
Why does my freshly painted wall still show seams? Visible seams after painting usually mean the finishing work fell short — too few coats of compound, inadequate sanding, or improper feathering. In some cases, flat paint under direct or angled lighting reveals imperfections that a higher-sheen paint would reflect away.